Configure Wallboard View 5 (Statistic)
Introduction
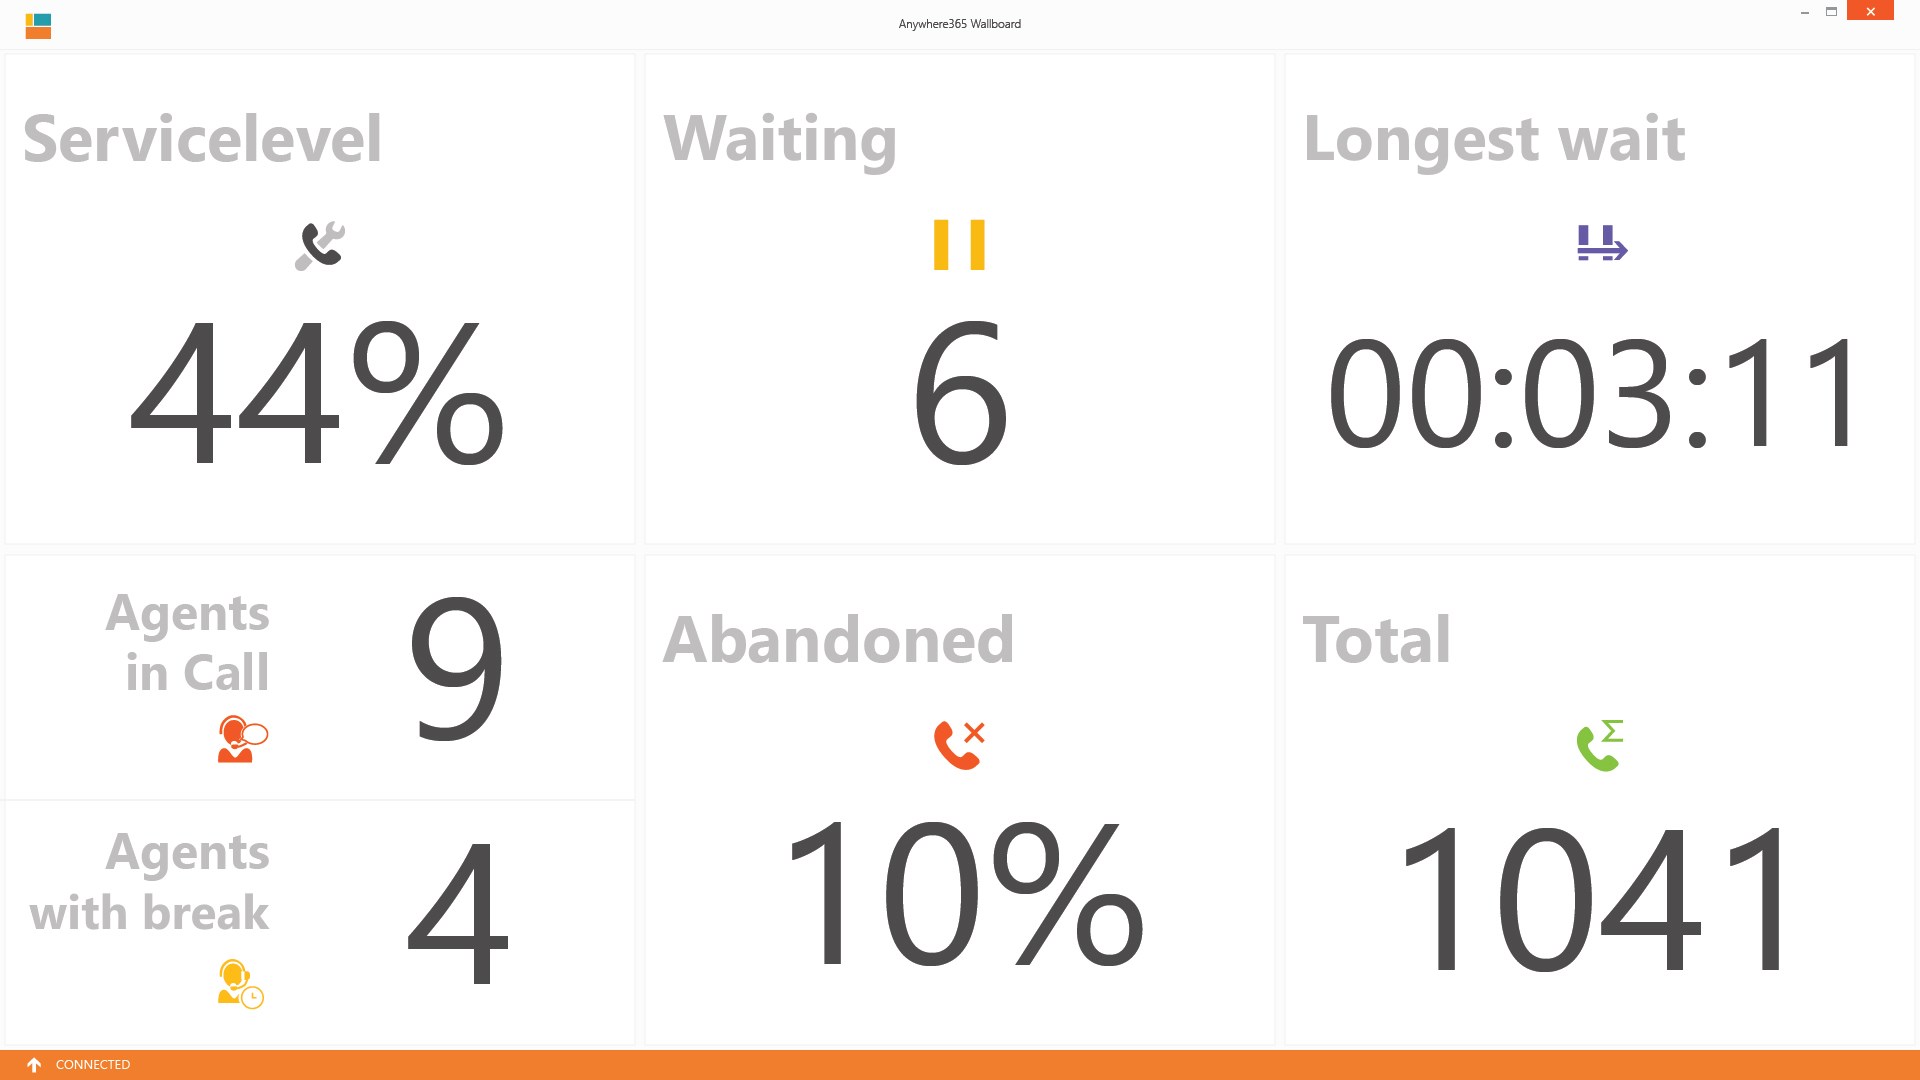
This view is also known as Statistic View.
Preview
Configure
-
Open the config.xml file, which is located in the Anywhere365 “InFlight WallBoard\I01” folder
-
The right value for the DefaultView = 5
-
Make sure the General Settings are as in the example below
CopyXML<!-- General Settings -->
<DefaultView value="5" enabled="true"></DefaultView>
<!-- 1 Normal, 2 Custom (Grid), 3 Multiple, 4 InboundOnly, 5 StatisticsView, 6 Reason Code -->
<MultipleUCCGroup value="-1" enabled="true" />
<!-- -1 == GroupView, 0 == group 0, 1 == group 1, 2 == group 2, 12 == group 12, etc-->
<LogLevel value="All" enabled="true" />
<!-- All, Critical, Error, Warning, Information, Verbose -->
<LowestSkillValue value="1" enabled="true" />
<Language value="en" enabled="true"></Language>
<!-- End General Settings --> -
Next make sure the "Normal View Settings" are correct. (Entered during installation)
CopyXML<!-- Normal View Settings -->
<DashboardServer version="1.5" name="ucc-" value="http(s)://<FQDN>/DashboardService" SLA1Label="20 sec" SLA2Label="2 min" SLA1="20" SLA2="120"></DashboardServer>
<Credentials username="" password="" />
<!-- End Normal View Settings -->-
name = Name of the UCC A Unified Contact Center, or UCC, is a queue of interactions (voice, email, IM, etc.) that are handled by Agents. Each UCC has its own settings, IVR menus and Agents. Agents can belong to one or several UCCs and can have multiple skills (competencies). A UCC can be visualized as a contact center “micro service”. Customers can utilize one UCC (e.g. a global helpdesk), a few UCC’s (e.g. for each department or regional office) or hundreds of UCC’s (e.g. for each bed at a hospital). They are interconnected and can all be managed from one central location. (e.g. ucc-main-number or ucc-support-ab123)
-
value = URL to dashboard service of the UCC (e.g. https://service.domain.com/dashboardservice)
-
SLA1 = Number of seconds which is used in the SLA bar's first item and SLA percentage.
-
Credentials = Automatically entered when connection to a secure dashboard.
-
-
Next make sure the "StatisticsView" Settings are correct.
-
AgentsReasonCode = Name of the reasoncode for the "Agent with break" item.
-
-
Save the file
-
Now the Statistic View is applied for the Wallboard.